sale !
HSS2020 pocket operator


pocket operator ?
HSS2020 manual
last update: 22 August 2020
About:
The first HSS2 was made in 2008 around the time of the financial crisis, since then allot has happend, Arduino spread around the world and electronics become easier and easier for everyone to make.
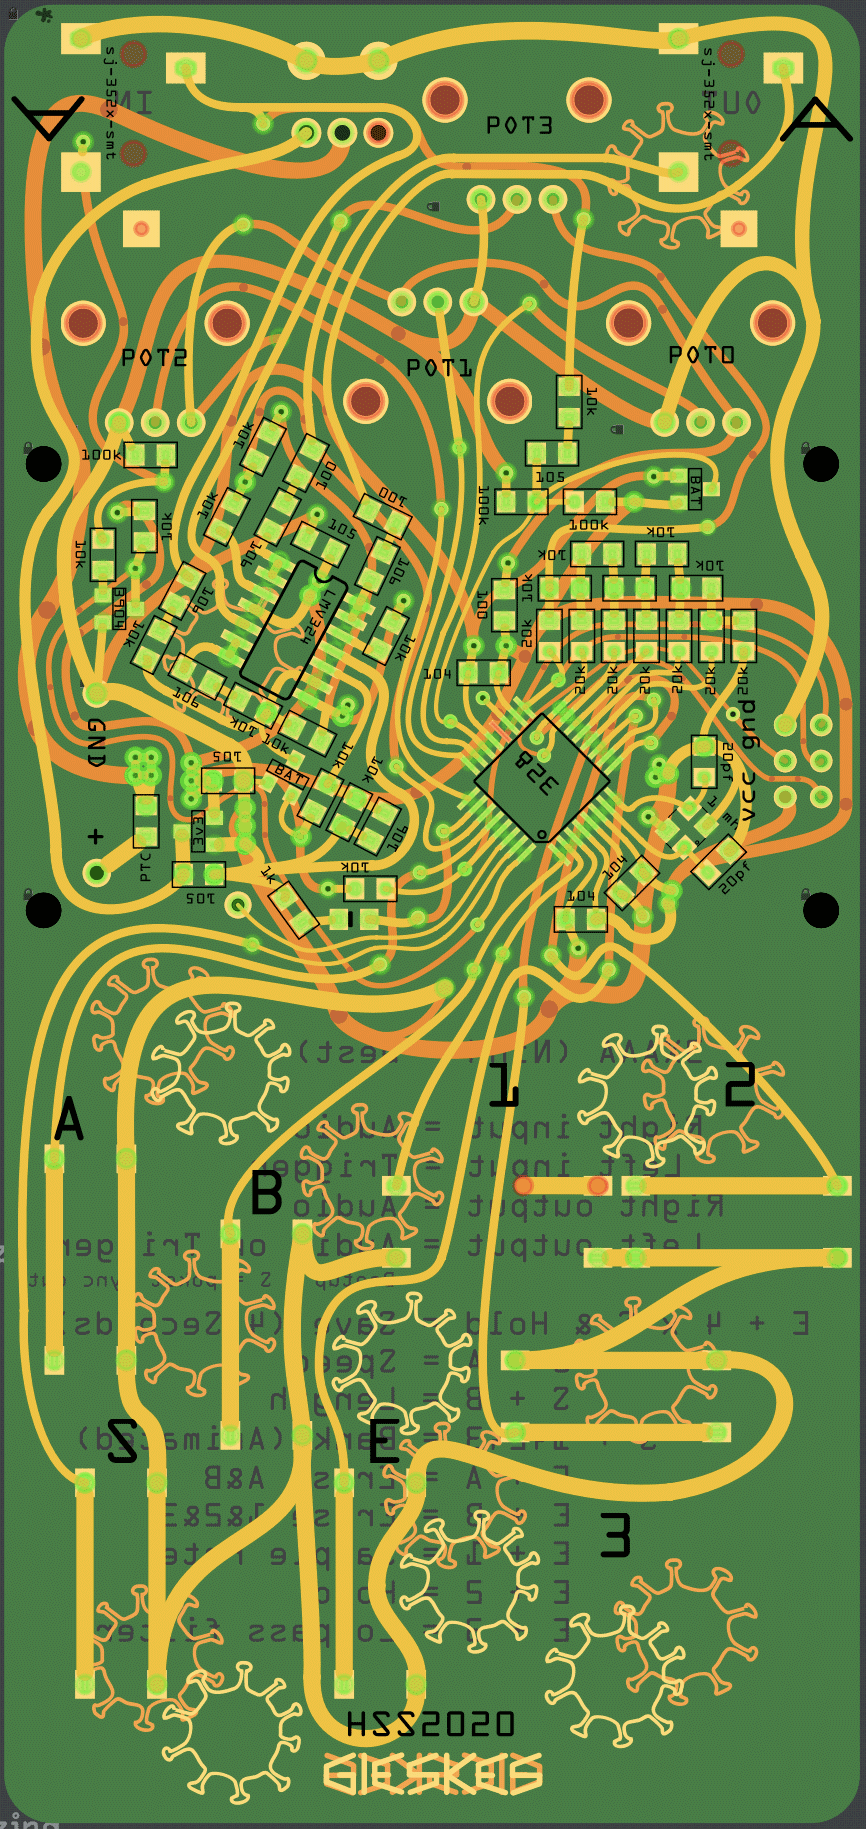
Now in 2020 ???? has arrived and im stuck in a apartment with very little space, what i can do is mostly just things on my computer, developing a pocket operator compatible version of the HSS2 seemed like a good idea for this situation, it is small and there are few components so i could breadboard it here. Looking at the PCB of the original HSS2 i got reminded of the curved traces, i never really used this feature in Fritzing (a feature request i did that got accepted ????) this seemed like the ideal moment for it. When designing the layout the arduino TQFP package looked like a little ???? with the via's and the curved traces, fitting very good in 2020.
3X AAA battery power:
It works best with NiMH batteries because the have a discharge
curve that make the battery have keep a similar voltage over a long
period in time. It keeps the voltage of one battery between 1.2volt
and 1volt till it suddenly loses all its power. And you can
recharge them, which is good for the environment and save you money
in the long run.
I have not measured the current consumption yet, but my guess is
that it can run for a few days on 1 charge.
Hacking: If you decide to power the device with a power plug you connect it to the + and the GND of the battery connector, maximum voltage is 13v DC, i would use a 9v power supply or a 5v power supply, the lower the power the better it is.
3.5mm Stereo Connectors:
A with direction to the device (left connector): This is the audio and trigger input.
- Input:
- Tip: Trigger input (max 12v DC).
- Sleeve: Audio input (it will feed true via a analog circuit).
- Output:
- Tip: Audio or Trigger output (for trigger out hold S button on bootup).
- Sleeve: Audio output.
Save/Load & Hold:
If you hold the E button and then press the S button the sequence position will reset to 0, as long as you hold these buttons like this the sequence will not advance.
On bootup it will load what has been saved, to save everything you can hold the E button and click 4 times on the S button, the last time you click on the S button hold it down for 4 seconds then you will hear the sound change as long as the sound is different it is saving (dont power down while saving).
Set speed:
Hold the S+A buttons and turn the middle potmeter, turn it all the way to the left for 0 speed when you use trigger inputs.
Set length:
Hold the S+B buttons and turn the middle potmeter, turn it all the way to the left for 2 steps and all the way to the right for 64 steps. The steps jump in a binary way 2,4,8,16,32,64 (pocket operators have 2 steps for 1 clock signal, this means you have 64 steps max, so equipment that has a clock signal for every-step will have a max of 32 steps on the HSS2020, because 1 clock signal is 2 steps forward for the HSS2020).
Set bank:
Press the S+1 or S+2 or S+3 buttons to select a sequence bank,
pressing a bank twice will make the bank playback twice before
jumping to the next bank there are a maximum of 64 bank sequence
steps.
When you have recorded a bank sequence you can still record
sounds over it using the 1,2,3,A,B buttons (can be fun to do
because it is unpredictable).
Be aware that the recorded bank sequences will be saved also when
you save, this can be confusing when you bootup the next
day.
Erase sequence:
Press the E+A to erase the sequence of A&B.
Press the E+B to erase the sequence of 1&2&3.
Effects:
The effects toggle on and off, but they will go off when you
release the E button.
Press the E+1 for sample rate reduction, turn middle potmeter to
set it. (When holding 1 on bootup you can switch to a
playback length effect for this button).
Press the E+2 to hold the sequence
Press the E+3 for lowpass filter, turn middle potmeter to set
it.
Record a sequence:
Press the 1&2&3 buttons in combination for different
sounds.
Press the A&B buttons in combination for different accents to
the sounds recorded in with the 1&2&3 buttons.
Audio input effects:
When there is no sequence recorded with the buttons
1&2&3 the buttons A&B can be used to select out of 3
diffrent digital effects. The effect will play over the audio that
is coming in, You can turn the middle potmeter while pressing the
buttons to record the effect.
Press A: sample looper effect.
Press B: pitch shift (only up).
Press A&B: delay.
Script:
Upload using ICSP via arduino IDE (take out the batteries when uploading via USBTinyISP).
- HSS2-20245.ino
- Board: "Arduino Pro or Pro Mini".
- Processor: "ATmega328P (5v, 16MHz)" (it runs on 3v3, 12mhz but this setting will work).
PCB Layout: